Amethyst Princess of Gemworld Cosplay - Sword
11:37 AMA little about my partner . . . She is a geek, a huge one. But she is also extremely shy and reserved and anxiety ridden. So, when she said she said she wanted me to make her something to cosplay at Nebraskon along with her friends and I, how could I say no. You know by now that I haven't been doing this stuff for long. In fact, I'm pretty much so terribly green that I have no idea what I am doing half the time. But, I did manage to swing two so far.
I don't have pictures for the first two. Well, there might be one or two for them. I'll have to check with her. Anyway, onward! Edit: She did have some and just sent me them!
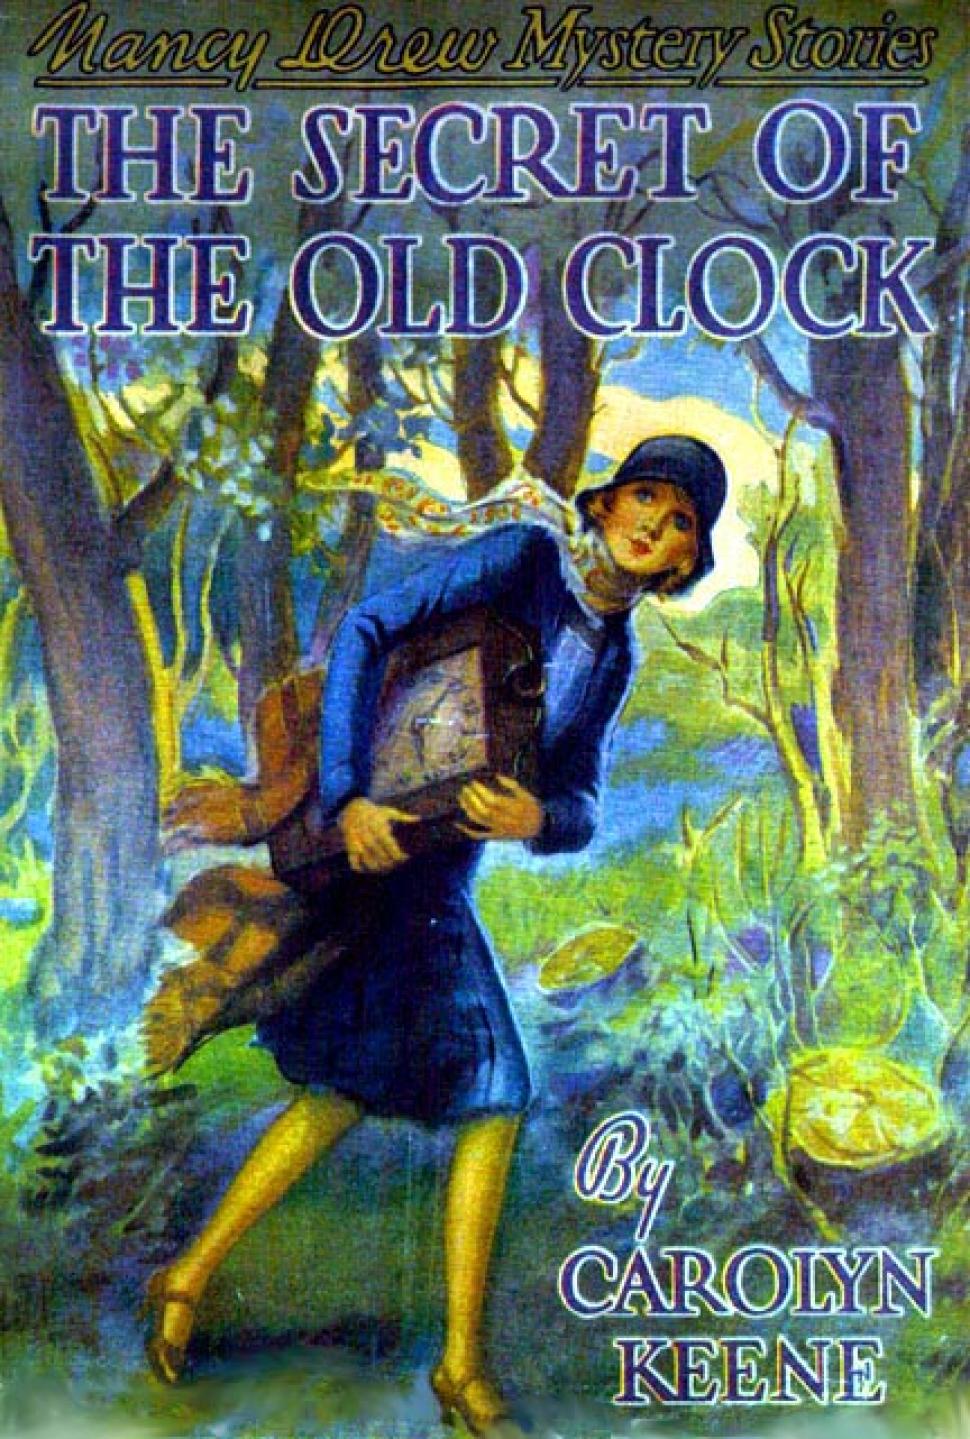
One was simple, Nancy Drew. She had most of the clothes and I only needed to modify a couple of things. She looked great, though. She specifically went with the Nancy Drew from the cover of the "Secret of the Old Clock."

Last year I had introduced her to Ranma 1/2 and she fell in love with Shampoo. I think it is because they talk the same, but there might be more psychological stuff there, I dunno. Anyway, I made a shampoo costume for her. She wanted to be Shampoo when she busts in Ranma with the intention of slaughtering girl-type Ranma.


This year, she wants to do Amehtyst, Princess of Gemworld. The original classic character design, not the reimagined or cartoon one.
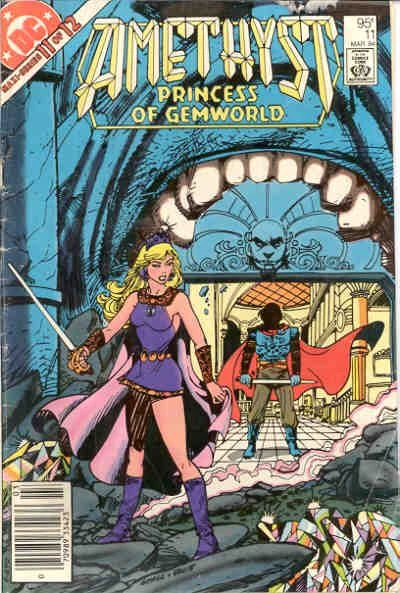
I used some heavy duty cardboard for the blade and cemented a smaller bit on each flat side for depth. I then covered it in Worbla. I added some scrap bits of Worbla into the places where there were slight creases or dents in the cardboard. I left some space at the bottom to slip through the hilt and into the grip to serve as a tang to support and insure the blade is secure on the project.
After the blade was set aside. I started on the hilt. The hilt is a bit ornate, but I didn't want to over-do it, so I simplified it a bit. I measured the length of the curve I would need to go from the base of the blade and down to the bottom of the grip. Using some .5mm foam, I cut a triangle shape, cut a slot where the base of the blade would slip through, and sandwiched the whole thing in Worba. I set this main piece of the hilt aside and started working on the grip.
For the grip I knew it needed to be simple and thin enough for me to add some detail and possible ornamentation. I did a quick look around and couldn't find anything that would work well as a core for the grip, so I heated up some scrap Worbla and worked it into a cylinder the length I needed and shaped it to be slightly thicker in the middle. Before it cooled down too much I cut/created a slot in the top of the grip deep enough for the tang to sit securely. I then slipped the tang of the blade through the hilt piece and into the grip. Heating everything up, I positioned and fixed everything to create a nice vertical line from the tip of the blade to the base of the grip.
Heating up the rest of the hilt, I bent it to the type of the curve needed and attached the bottom of the hilt to the end of the grip. I wanted to be certain this piece would stay in place, though. I waited until the Worbla pieces had set, drilled a pilot whole through the bottom of the hilt and into the grip, and secured it all with a screw through a couple washers. After covering the screw and washers with a bot of scrap Worbla, I was now finished with a basic sword. But, I still wanted to add a couple things.
There are reference images that have various levels of detail on the hilt of the sword, but I decided to start with the simple ornamentation of the extra curve coming out of the base of the blade and curving upward down the hilt. This was simple enough - a strip of foam, some Worbla, heat and bend it into shape and attach it where it needs to be. It was a minor thing, but adds some depth and interest to what would have been a simple blade. Turning to the grip, I heated some scrap Worbla and worked it into long thin cylinders with some irregular parts with varying thickness. Heating these snakey pieces, I wrapped them around the grip to look like some binding. While it was cooling, I shaped it slightly and added some grooves where I felt the depth should be emphasized. With the grip done, I added the detail at the base of the blade where it meets the hilt. Again, simple shaping of scrap Worbla.
All in all, I think it turned out pretty great. I still have sanding and painting to do an I MIGHT add some more ornamentation on the hilt . . . we'll see. But, as it stands now, I'm pretty happy with it. :)


0 comments